

How to Build Your Own AI Assistant in 2026 Without Coding: A Step-by-Step Guide
Published by: Mehedi Hasan,14 October, 2026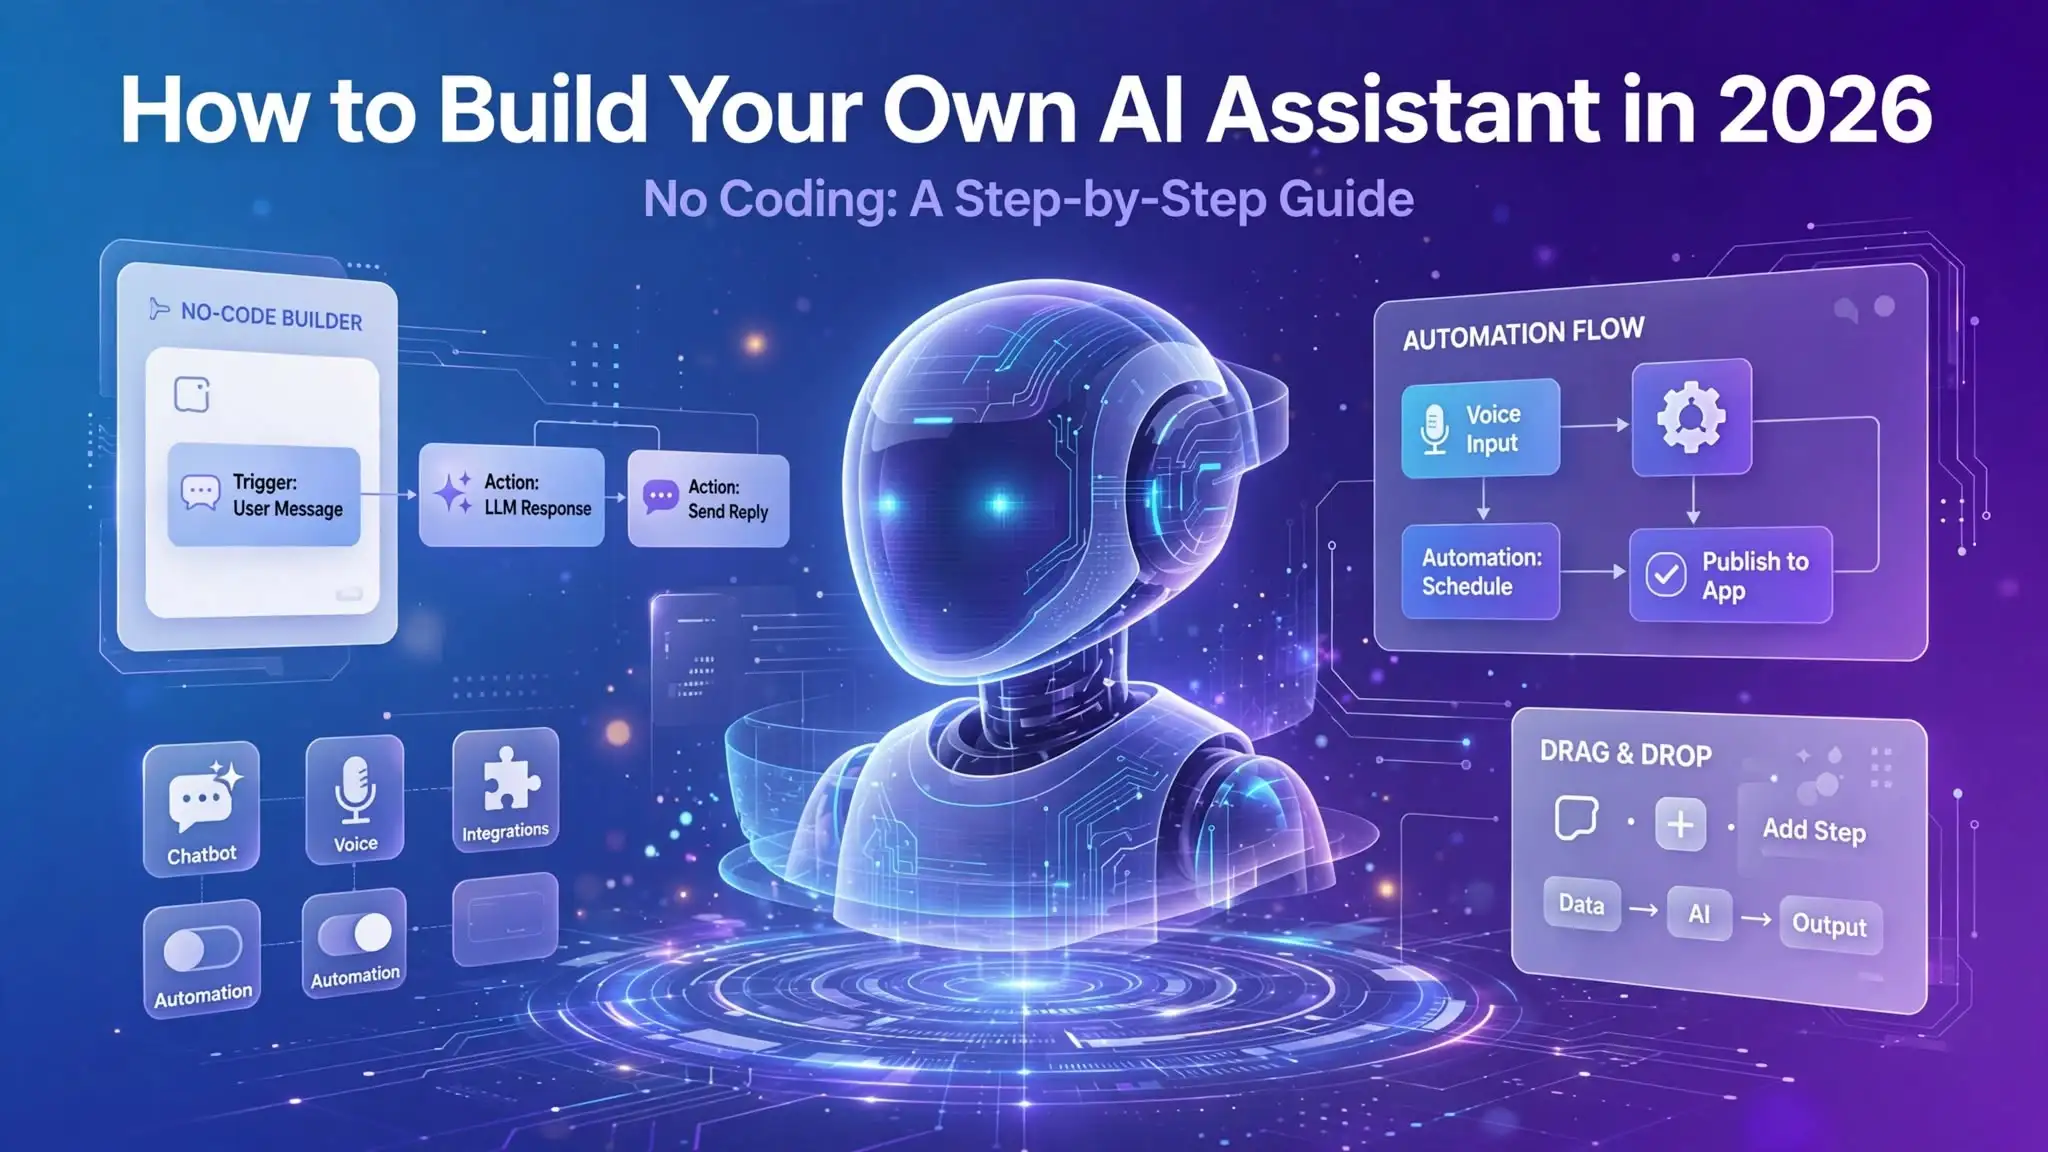
Image: AI Assistant concept. Image source: FactsWings.
Have you ever wanted your own AI assistant to help you write emails, plan your day, learn new skills, and organize your work? You can create a customized AI assistant without writing a single line of code. You only need a suitable AI platform, clear instructions, and a little time to test your assistant.
In this guide, you will learn how to create a personal AI assistant using Google Gemini’s custom assistant feature, called Gems. You will learn where to go, which options to choose, what instructions to enter, and how to test your assistant after creating it.
You will also learn how to customize its behavior, add reference documents, improve its answers, and understand its limits. The instructions are written for beginners, so you do not need programming experience.
What you will build: A personal AI assistant that follows your instructions and helps with tasks such as writing, planning, learning, and summarizing information.
What you will not build: This method does not create a new AI model, a fully independent robot, or a standalone AI website. Your assistant works inside the Gemini service and depends on the features available to your account.
Table of Contents
- What You Need Before Starting
- What Kind of AI Assistant Can You Create?
- Why Use Google Gemini?
- How to Create Your AI Assistant
- Copy and Paste These AI Instructions
- How to Test Your New Assistant
- How to Add Your Own Documents
- How to Customize Your Assistant
- How to Use Your Assistant Every Day
- Can Your Assistant Perform Actions?
- Privacy and Security
- Common Problems and Solutions
- Frequently Asked Questions
- Official Sources
1. What You Need Before Starting
Before creating your assistant, prepare a few simple things. You do not need to install a programming language, use a code editor, or create an API key for this basic method.
- A Google account: You need an account that can access Gemini and the relevant custom assistant features.
- An internet connection: You will create and use the assistant through a web browser.
- A computer or phone: A computer is useful for following the setup steps, but you can also use a supported mobile device.
- A clear goal: Decide what you want your assistant to help you do.
- A set of instructions: You will copy a ready-made instruction template from this guide.
Feature availability can depend on your account, location, age requirements, and Google’s current product settings. If you do not see the same options described below, check Google’s official help page linked in the Sources section.
You can start without preparing any documents. Later, you may add your own notes or reference files if the feature is available to your account.
2. What Kind of AI Assistant Can You Create?
A personal AI assistant is a customized AI helper designed around your needs. It uses instructions to guide the way it answers questions and performs supported tasks.
For this beginner project, you will create a general personal productivity assistant. It will be configured to help with:
- Planning your daily tasks.
- Creating to-do lists.
- Drafting and improving emails.
- Summarizing notes and documents.
- Explaining difficult topics in simple English.
- Breaking large projects into smaller steps.
- Suggesting practical ways to organize your work.
You can change these tasks later. For example, you could make a study assistant, a writing assistant, a travel planning assistant, or a helper for organizing information about your business.
The important point is that you are customizing an existing AI service. You are not training a new AI model from scratch. The service provides the underlying AI, while your instructions help shape how it responds to your needs.
3. Why Use Google Gemini?
Google Gemini offers a feature called Gems. A Gem is a customized version of Gemini that follows instructions for a specific purpose. Google’s official documentation explains how to create a Gem, name it, write instructions, and optionally add reference files.
This makes Gems a practical starting point for people who want to create a personal AI assistant without programming.
For example, you can create a Gem called “My Personal Assistant” and tell it to use simple English, organize answers into clear steps, help you manage projects, and ask questions when your request is unclear.
Once saved, you can return to your Gem and use it for the tasks described in its instructions. You do not need to rewrite the same long instructions every time you start a new conversation with that Gem.
Important limitation: A Gem is not a fully independent application. It operates within Gemini. Its ability to search the web, use files, connect to services, or perform other tasks depends on the features available to your account.
You can read Google’s official instructions here: How to use Gems in Gemini Apps.
4. How to Create Your AI Assistant Step by Step
Now you will create the assistant. Follow the steps in order. The exact interface may change, but Google’s official help page provides the current instructions for creating and managing Gems.
Step 1: Open Google Gemini
Open a new browser tab and visit the official Gemini website:
Sign in with your Google account if requested. Wait for the Gemini interface to load.
If you cannot access the service or a particular feature, check the account requirements and availability information provided by Google. Do not use an unofficial website that asks for your Google password.
Step 2: Open the Gems Section
Look at the left sidebar in the Gemini web interface. Depending on the current layout, you may see an option called “Explore Gems” or “Gems.”
- Open the sidebar if it is hidden.
- Find the Gems section.
- Open it to view the available custom assistants.
- Look for the option to create a new Gem.
Google sometimes changes its interface and feature names. If the menu looks different, use the official Gemini help page rather than guessing which unrelated option to select.
Step 3: Create a New Gem
Select the option labelled “New Gem” or the equivalent option shown in your account.
You should be able to enter a name and instructions for the assistant. Some interfaces may also offer a way to upload reference files.
For this example, you will create a general personal assistant. You can use the name below.
A clear name makes it easier to identify your assistant later. You can choose another name if you prefer.
Step 4: Add the Assistant Instructions
Find the instructions field. It may be labelled “Instructions” or appear as a large text box where you describe how the Gem should behave.
Instructions are the most important part of this setup. They explain the assistant’s role, its main tasks, the way it should communicate, and the limits it must follow.
Copy the complete instruction template in the next section and paste it into this field. Do not paste it into your browser’s address bar or into a normal search box.
Read the instructions once before saving. You can change the tasks to match your needs, but keep the rules about accuracy, privacy, and confirmation for important actions.
Step 5: Add Reference Files (Optional)
If your interface provides a Knowledge section, you may be able to add files that help your assistant understand a specific subject.
For example, you could add:
- Your own study notes.
- A project guide that you are allowed to share.
- A document containing your preferred writing style.
- A non-sensitive list of frequently asked questions.
Look for an option such as “Add files.” Choose a file from your device or from Google Drive if that option is available.
This step is optional. You can create and test the basic assistant without uploading any documents.
Do not upload passwords, authentication codes, bank details, private identity documents, or confidential business information that you do not need to share with the service.
Step 6: Save Your Assistant
After entering the name and instructions, find the “Save” button and select it.
Wait for the save operation to finish. If the platform shows an error, review the required fields and try again.
If you do not see a Save button, check the current interface and official instructions. Do not assume that closing the page will save your work.
Step 7: Open Your New Assistant
Return to the Gems section and look for the assistant you just created. Select its name to open a conversation.
Your assistant is now ready for testing. You can begin by asking it to plan your day or create a checklist.
If you cannot find the saved Gem, confirm that you are signed in to the correct account and check the official help page for the current interface.
5. Copy and Paste These AI Assistant Instructions
This is the practical part of the guide. The following instructions are designed for a beginner who wants a useful assistant for everyday tasks.
Copy the entire text below and paste it into your Gem’s instructions field.
After copying the instructions, return to the Gem editor and paste them into the instructions field. Then save the Gem.
These instructions are a starting point. They guide the assistant’s behavior, but they cannot guarantee that every answer will be accurate or that every requested task will be possible.
6. How to Test Your New AI Assistant
Do not assume your assistant is working correctly just because you have saved it. You should test it with real questions before depending on it.
Open the assistant you created and try the following prompts one by one.
Test 1: Daily planning
A useful response should organize your available time and ask questions if important details are missing. Check whether the schedule is realistic.
Test 2: Writing assistance
The assistant should produce a suitable draft and avoid making up information that you did not provide.
Test 3: Learning support
Check whether the explanation is understandable and whether its factual claims can be verified.
Test 4: Missing information
A reliable assistant should explain that it cannot know the contents of a document it has not received or accessed. It should not invent an answer.
Test 5: External actions
Your assistant should not claim that an email has been sent unless it has a suitable connected tool, the necessary access, and confirmation that the action succeeded.
How to judge the result: Your assistant should follow its instructions, ask sensible questions, provide useful answers, and be honest about its limitations.
7. How to Add Your Own Documents
A general assistant can answer many questions, but you may want one that works with your own information. For example, you might want it to help you understand your study notes or summarize a project guide.
If the Knowledge or file-upload feature is available in your Gem editor, follow these steps.
- Open the Gem editor for your assistant.
- Find the Knowledge section or its equivalent.
- Select “Add files” if that option is available.
- Choose a supported file from your device or Google Drive.
- Wait for the file to finish uploading.
- Save your changes if the editor asks you to do so.
- Open the assistant and ask a question whose answer is clearly stated in the document.
For example, if you add your own lesson notes, you can ask:
Compare the answer with your original file. If the assistant gives an incorrect answer, try asking a more specific question and check whether the relevant information is actually present in the document.
Uploading a file does not guarantee that the assistant will always find or understand every detail. Keep your files organized and test the assistant with questions whose answers you already know.
8. How to Customize Your Assistant
Once the basic assistant works, you can make it more useful by changing its instructions. You do not need to create a new Gem for every small change.
Make it a study assistant
Add a rule asking the assistant to explain lessons in simple language, give examples, ask practice questions, and explain why an answer is correct. You can also tell it to help you learn instead of simply giving answers.
Make it a writing assistant
Tell the assistant which type of writing you need, such as emails, articles, reports, or social media posts. Explain the preferred tone, audience, language level, and formatting.
Make it a productivity assistant
Ask it to prioritize tasks based on deadlines, importance, and the time available. Tell it to break large tasks into manageable steps.
Make it a research assistant
Tell it to distinguish established facts from uncertain claims and to provide reliable sources when it has access to them. Check important claims against the original sources.
To change your assistant, return to the Gems section, open the relevant editor, update the instructions, and save your changes. The exact controls may differ from one version of the interface to another.
9. How to Use Your Assistant Every Day
A customized assistant is most useful when you give it clear requests. You do not need complicated prompts. Explain your goal, provide the relevant details, and describe the format you want.
| Your Goal | Example Prompt |
|---|---|
| Plan your day | Organize these tasks by priority and create a realistic plan. |
| Write an email | Draft a polite email using the facts below. Do not add missing details. |
| Learn a topic | Explain this topic in simple English and give me three practice questions. |
| Summarize notes | Summarize these notes into five key points and preserve important facts. |
| Plan a project | Break this project into steps and identify what information is still missing. |
You can return to the same Gem whenever you want to use its configured instructions. However, do not assume that it remembers every detail from previous conversations. Persistent memory and conversation history depend on the service and its features.
10. Can Your Assistant Perform Actions?
There is an important difference between an assistant that gives advice and one that takes action.
The basic Gem you created can help you plan tasks, draft messages, explain information, and prepare checklists. It does not automatically gain access to your email, calendar, files, or other accounts simply because you created it.
More advanced AI workflows may use connected apps or automation platforms. These can sometimes move information between supported services or perform specific actions. Such features require suitable setup, permissions, and account support.
For example, a connected workflow might prepare a draft from a form submission. Whether it can save, send, or publish that draft depends on the connected tools and the permissions you grant.
Start with tasks that do not change external data. If you later connect other services, review the permissions carefully and test the workflow before using it with important information.
If your long-term goal is to build an AI assistant directly into your own website, that is a different project. A website-based assistant may require a chatbot platform, a supported integration, or an API-based application. The Gem created in this guide is not itself an embeddable website chatbot.
11. Privacy and Security
Your AI assistant may process the text and files you provide. Before using it for personal or professional work, understand how the service handles your information.
Do not share passwords
Never paste your Google password, authentication codes, or other account credentials into an AI conversation. A personal assistant does not need those details to help you organize your work.
Be careful with private documents
Do not upload confidential files unless you have permission and understand the service’s data policies. For testing, use public information or documents that do not contain sensitive details.
Review your privacy settings
Read Google’s current Gemini Apps Privacy Hub to understand the information the service processes and the available privacy controls. Your settings and account type can affect how your data is handled.
Official privacy information: Gemini Apps Privacy Hub.
Check important answers
AI assistants can produce inaccurate or incomplete information. Verify important claims, especially when they involve health, legal matters, money, safety, or important business decisions.
Remember the limits of instructions
Your instructions can guide the assistant’s behavior, but they cannot guarantee perfect accuracy or prevent every possible mistake. Keep reviewing its responses and avoid granting permissions that are not needed.
12. Common Problems and Solutions
I cannot find the Gems option
Check that you are using the official Gemini website and the correct Google account. The interface can change, and feature availability can vary. Consult Google’s current help documentation if the option is missing.
The assistant does not follow my instructions
Make your instructions more specific. Instead of saying “Give me good answers,” explain the exact response format you want. For example, ask for a short answer followed by three practical steps.
The assistant gives incorrect information
Ask it to explain which information supports its answer. Verify important facts against reliable sources. If you added a document, compare the response with the original file.
The assistant cannot access my files
Check whether the files were uploaded successfully and whether the file feature is supported by your account. A file stored on your computer is not automatically available to Gemini.
The assistant cannot send an email or complete an action
Custom instructions do not create external permissions. You need a supported connected tool or workflow for actions outside the conversation. If no suitable integration is available, use the assistant to prepare a draft and complete the action yourself.
I cannot save my changes
Check the required fields, your account access, and the current interface. Follow the official instructions for creating or editing Gems. Do not assume that your changes were saved until the interface confirms it.
13. Your Final Checklist
Before relying on your new assistant, check each item below.
- I opened the official Gemini website.
- I created a new Gem using the available creation option.
- I gave the assistant a clear name.
- I pasted the instructions into the correct field.
- I saved the assistant successfully.
- I tested it with several different prompts.
- I checked whether its answers were useful and accurate.
- I reviewed privacy settings before sharing sensitive information.
- I understand that the assistant cannot perform external actions without suitable tools and permissions.
If you can check these items, you have completed the basic setup process. You can now refine your instructions and use your assistant for everyday tasks.
Conclusion
You do not need programming skills to create a customized AI assistant for everyday use. With Google Gemini’s Gems feature, you can give an assistant a name, define its role, add clear instructions, and use it for tasks such as planning, writing, learning, and summarizing information.
The most important part is not simply creating the assistant. It is defining a clear purpose, giving useful instructions, and testing its answers before relying on them.
Start with the instruction template in this guide. Test your assistant with real tasks, improve the instructions when necessary, and add reference documents only when you need them.
Remember that a custom Gem works inside Gemini. If you later want a chatbot on your own website or an assistant that performs actions across several applications, you will need to explore the appropriate integrations or development options.
Start small, keep your information secure, and improve your assistant based on what actually helps you.
Frequently Asked Questions
Yes. You can customize an existing AI service with instructions and supported features. This guide explains how to create a custom assistant using Google Gemini’s Gems feature. You do not need to write code for the basic setup.
Gemini has offered free access, but availability, usage limits, and advanced features can change. Check the official service and your account to confirm which features are available to you.
No API key is needed for the basic Gem creation process described in this article. Separate integrations or custom software projects may require additional setup.
Yes. You can give your Gem a name and write instructions that describe its role, communication style, tasks, and boundaries. Its actual behavior may still vary with the underlying AI system.
Google’s Gem creation process supports adding knowledge files when the feature is available. Supported file types and limits may vary. Avoid uploading unnecessary confidential information.
Do not assume that it will. Conversation history, saved information, and persistent memory depend on the service and its features. Check the current documentation and settings.
A Gem is designed to work within Gemini, so it is not itself a website chatbot that you can embed in WordPress. A website chatbot requires a platform or integration that specifically supports website deployment.
Not just because you created a Gem. Sending email requires a suitable supported integration, the necessary permissions, and any required confirmation. Without that setup, the assistant can help draft an email for you to send.
Yes, if editing is available to your account. Open the Gem editor, update its instructions or knowledge sources, and save the changes. Test the assistant again after making changes.
No. AI assistants can make mistakes, misunderstand questions, or provide incomplete information. Verify important claims and never rely on an answer without checking it when the consequences are significant.
Official Sources and Research References
The main setup steps in this article are based on Google’s official documentation. The links below allow readers to verify the available features and review the service’s current instructions and privacy information.
- Google Gemini Help: Use Gems in Gemini Apps. Official instructions for creating a Gem, adding instructions, and using supported knowledge files.
- Google Gemini Help: Tips for creating custom Gems. Official guidance on writing instructions and giving a custom Gem useful context.
- Google Gemini Help: Gemini Apps Privacy Hub. Official information about data handling and privacy controls.
Editorial note: These sources support the general setup, instruction-writing, and privacy guidance in this article. Product interfaces, feature availability, account requirements, and plan limits can change. Check the linked official documentation before following a platform-specific step.